A smart collection is a grouping of products defined by merchant-specified rules. Shopify automatically changes the contents of a smart collection based on the rules. Like other collections, smart collections organize the product catalog into categories and make it easier to navigate the store.
Unlike manual collections, smart collections cannot remove a specific product unless the collection condition is changed or the product details are edited, so the product no longer matches the condition.
By default, a store can have up to 5000 smart collections.
A smart collection is so useful for each business; it helps their customers have better experience shopping. With that benefit, today Beehexa will show you how to create a smart collection using Postman with many conditions that you can choose to suit your business.
Now, let’s explore this subject step by step.
Step 1: Generate API Credentials From Shopify Admin
If this is the first time you make a call in the Postman, you must generate API credentials from the Shopify admin.
Follow the process of How to build a custom app for Shopify in 2022? to know how to access Shopify API.
- After creating an app, remember the Admin API access token and the API key to create a smart collection in Postman.


Shopify Wave Integration


Shopify Bigcommerce Integration


Shopify Insightly Integration
Step 2: Create A Smart Collection Using Postman
Now, we are ready to create a smart collection using Postman.
-
- Log in to your Postman and create a new workspace
-
- Then, create a new POST with this URL:
https://{API_key}:{admin_API_access_token}@{shop}.myshopify.com/admin/api/{api-version}/{resource}
-
- {API_key} – The API key that you generated.
-
- {admin_API_access_token} – The admin API access token that you generated.
-
- {shop} – The name of your development store.
-
- {api-version} – The supported API version that you want to use.
-
- {resource} – A resource endpoint from the REST Admin API.
Or you can copy this example, remember to change {resource} to {smart_collections}:
https://ed86d512a2c95387ffa25f67074a222b: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@hexasync.myshopify.com/admin/api/2021-10/smart_collections.json
In the body section, enter the code. You can change the conditions of the smart collection to suit your purpose.
In this example, I’ll create a smart collection with the title Test, with the rules as columns: variant price, relationship: less than, condition: 100. This Means Collection Test is a group of products with product prices under $100.
Payload:
{
    "smart_collection": {
        "title": "Test",
        "rules": [{
            "column": "variant_price",
            "relation": "less_than",
            "condition": "100"
        }]
    }
}
Then clicks on send
Parameters:
Smart_collection.title: The name of the smart collection. Maximum length: 255 characters.
column: The property of a product being used to populate the smart collection.
Valid values for text relations:
-
- title: The product title.
-
- type: The product type.
-
- vendor: The name of the product vendor.
-
- variant_title: The title of a product variant.
Valid values for number relations:
-
- variant_compare_at_price: The compare price.
-
- variant_weight: The weight of the product.
-
- variant_inventory: The inventory stock. Note: not_equals does not work with this property.
-
- variant_price: product price.
-
- Valid values for an equals relation:
-
- tag: A tag associated with the product.
relation: The relationship between the column choice and the condition.
Valid values for number relations:
-
- greater_than The column value is greater than the condition.
-
- less_than The column value is less than the condition.
-
- equals The column value is equal to the condition.
-
- not_equals The column value is not equal to the condition.
Valid values for text relations:
-
- equals: Checks if the column value is equal to the condition value.
-
- not_equals: Checks if the column value is not equal to the condition value.
-
- starts_with: Checks if the column value starts with the condition value.
-
- ends_with: Checks if the column value ends with the condition value.
-
- contains: Checks if the column value contains the condition value.
-
- not_contains: Checks if the column value does not contain the condition value.
condition: Select products for a smart collection using a condition. Values are either strings or numbers, depending on the relation value.
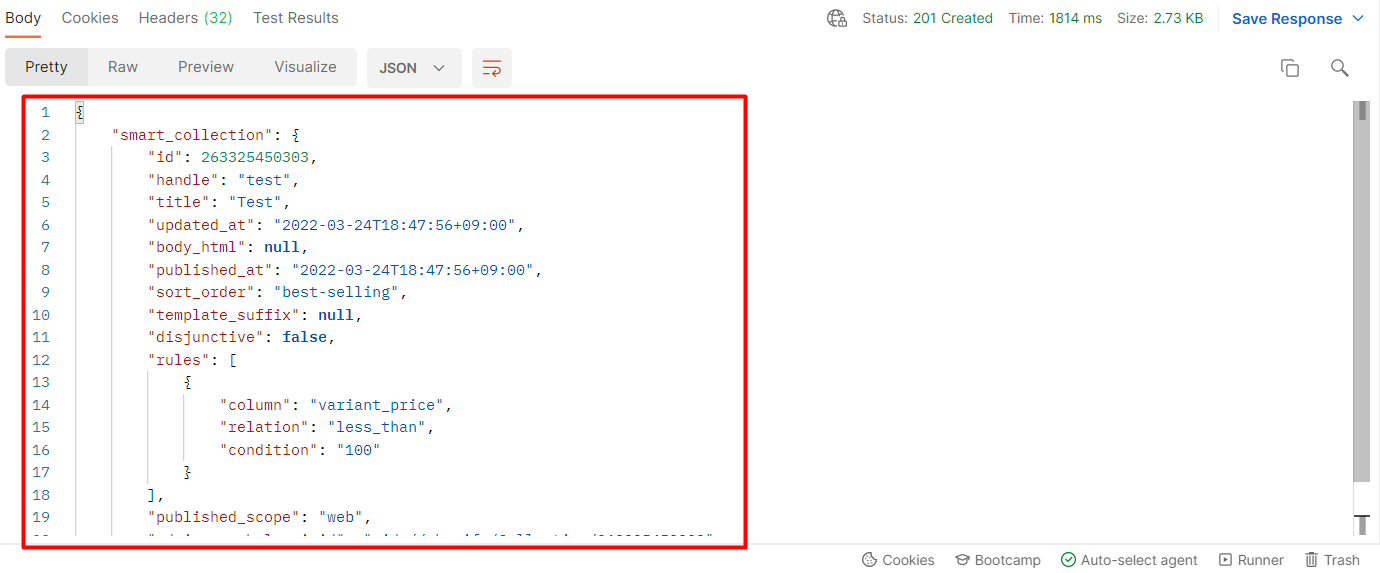
Response: The API will return the data like this.
{
    "smart_collection": {
        "id": 263325450303,
        "handle": "test",
        "title": "Test",
        "updated_at": "2022-03-24T18:47:56+09:00",
        "body_html": null,
        "published_at": "2022-03-24T18:47:56+09:00",
        "sort_order": "best-selling",
        "template_suffix": null,
        "disjunctive": false,
        "rules": [
            {
                "column": "variant_price",
                "relation": "less_than",
                "condition": "100"
            }
        ],
        "published_scope": "web",
        "admin_graphql_api_id": "gid://shopify/Collection/263325450303"
    }
}
Step 3: Verify The Result
Now, let’s check the result in the Admin Dashboard.
-
- Go to the Shopify admin
-
- Then, click on the products
-
- Finally, select collections
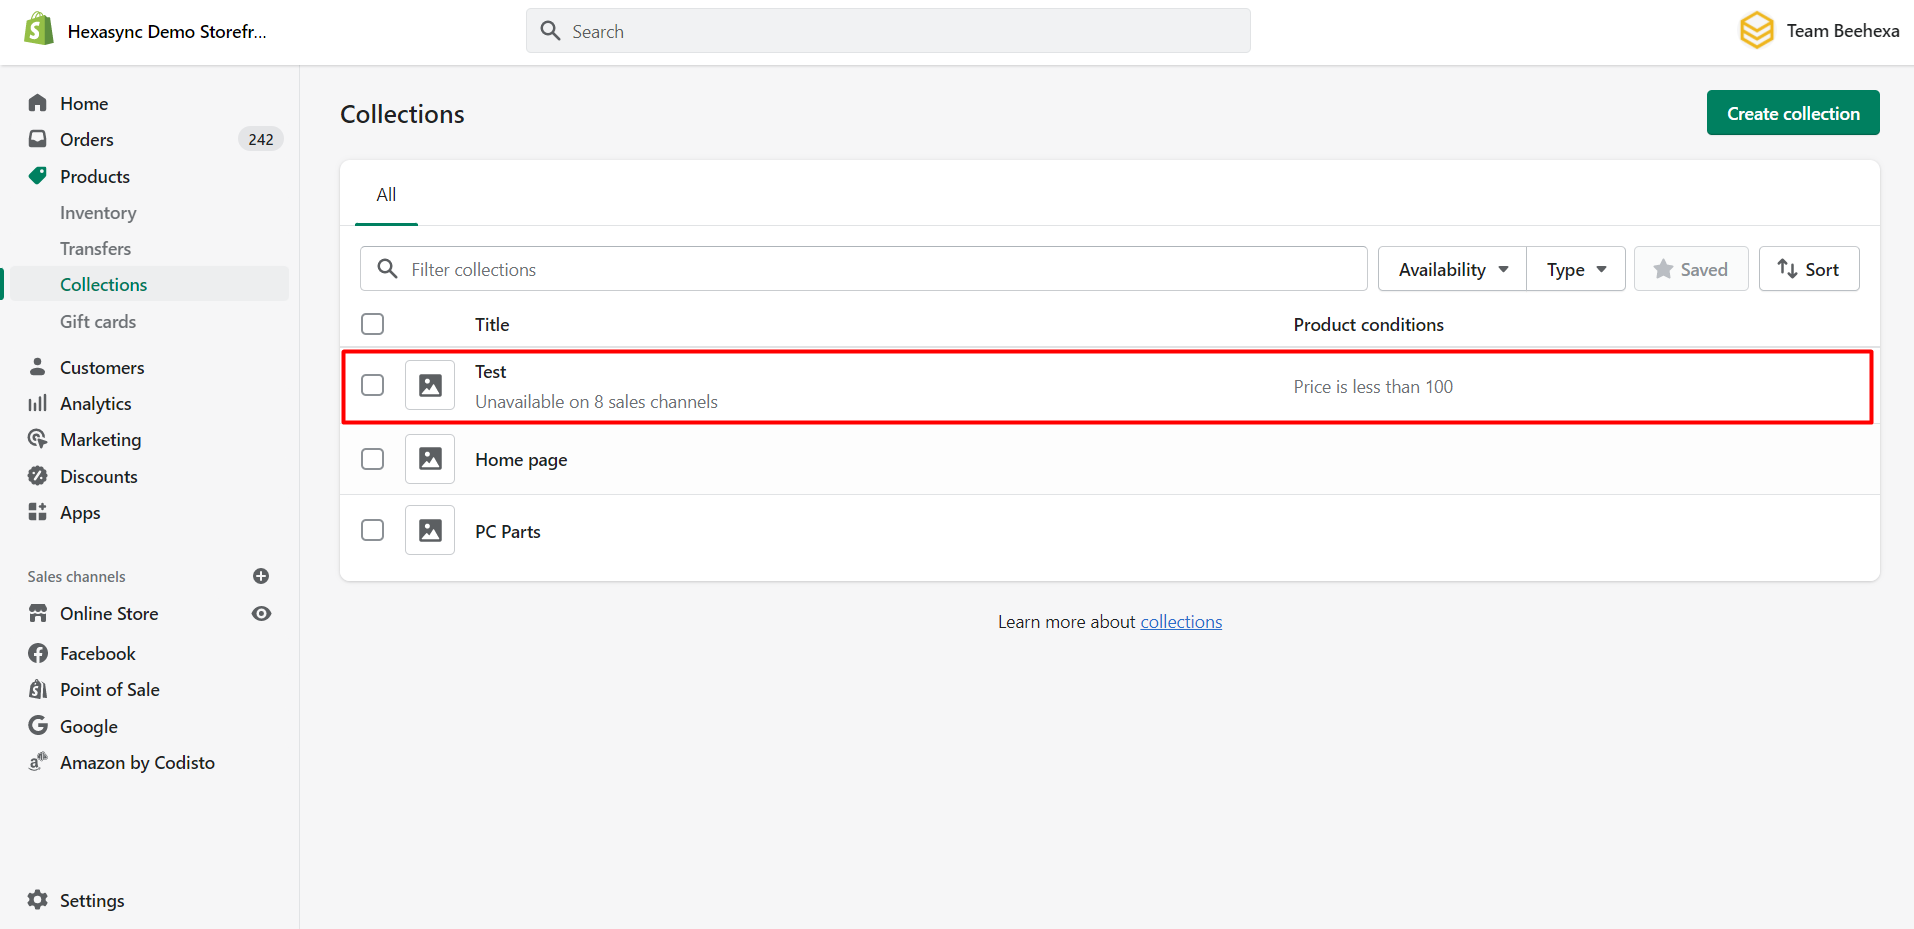
As you can see, the test collection has been created successfully.
Then click on the test collection.
After that, choose view; you can see the test collection in the Shopify Store.
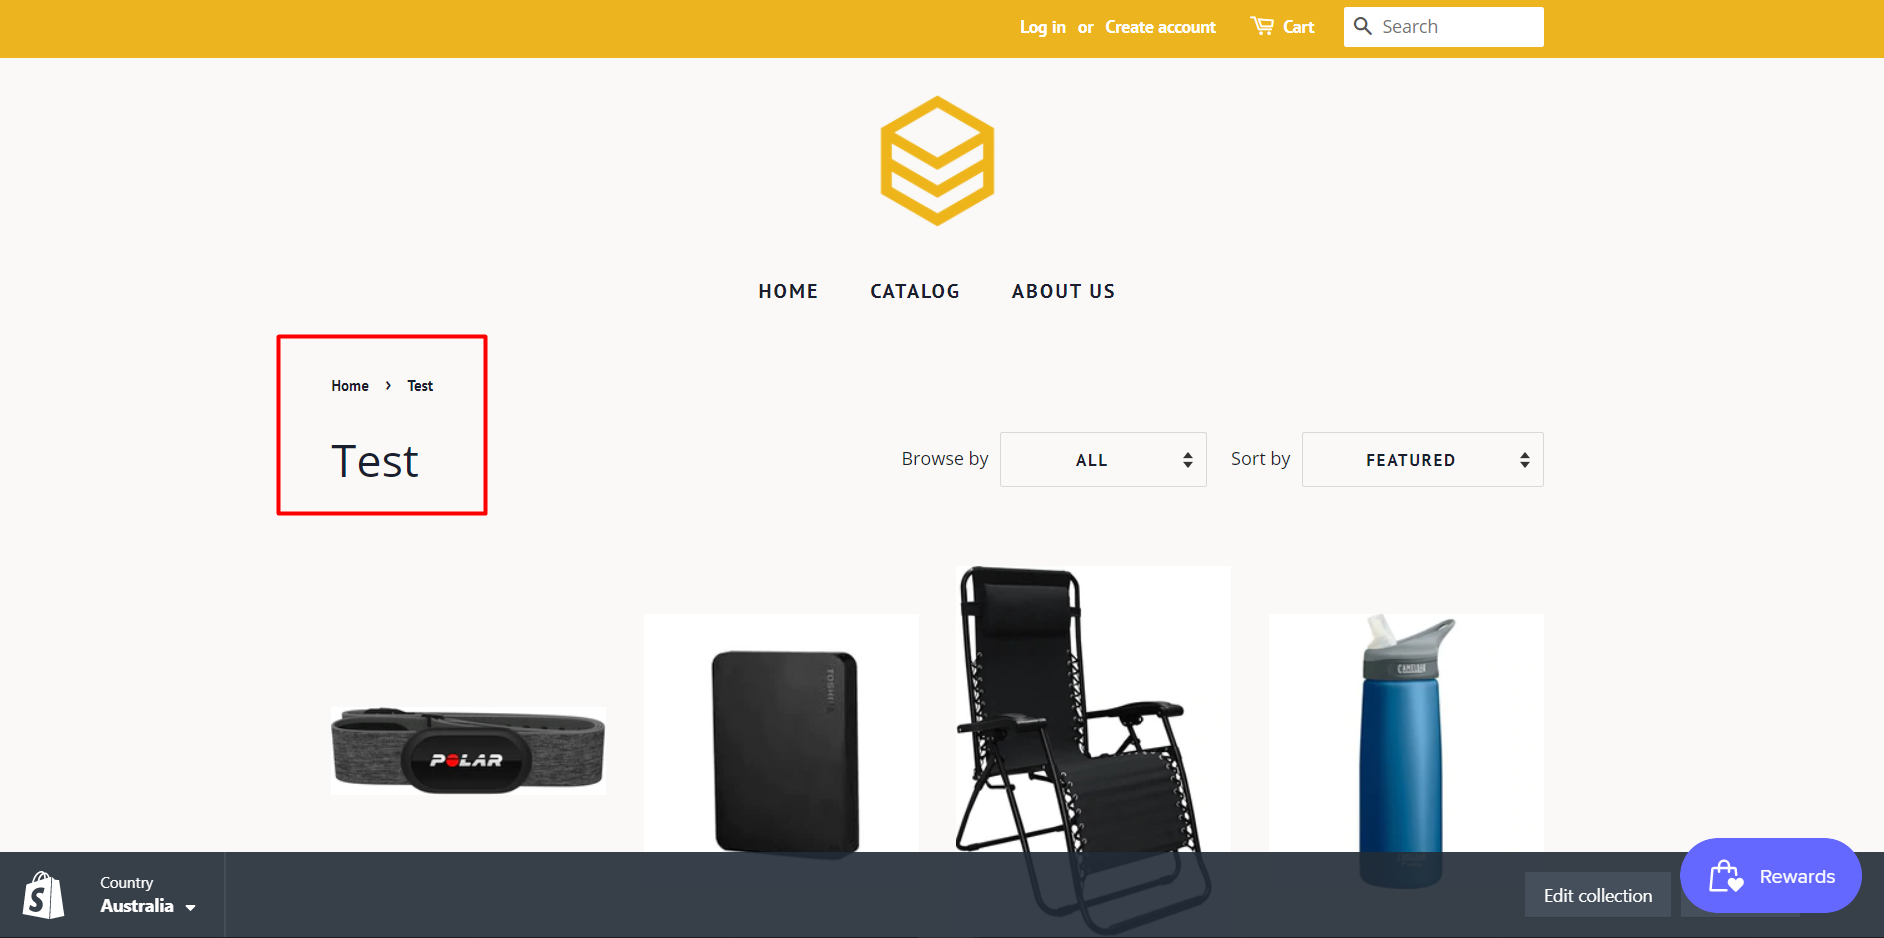
The above are all steps to create a smart collection using Postman with Shopify API. If you have any questions, please leave a comment below or refer to our blog: What is an API?. Besides, you can see more Shopify API documentation in the developer docs.
If you still do not understand the tutorial’s content, you can watch the video below for a more overview.
Hopefully, you can do it!


