Table of Contents
Overview
Beehexa will show you how to Retrieve, Create and Delete a Shipping zone step by step. And If you want to know more, you can go to Beehexa website.
Retrieving and creating a Shipping zone is critical; every business needs to pay attention to it to minimize shipping costs. Shipping zones are segments of delivery territories. Zones are located a certain distance from your origin, and each zone includes a ZIP code. The higher the zone number, the farther the destination is from the starting point.
Shipping zones radiate out from the point of origin, so a map showing shipping zones will differ depending on where you ship from. Zones can be explained simply by the distance between two points. Zones are higher the further your fulfillment warehouse is from your customer.
I. Retrieve all Shipping zones.
Knowing the information about the shipping zone is extremely necessary before creating or deleting a shipping zone. So now we will start with the steps to retrieve all shipping uses. Let’s get started.
Access Postman opens a new request.
To retrieve all shipping zone information, select GET and copy the URL with the structure:
https://api.bigcommerce.com/stores/{store_hash}/v2/shipping/zones
Now your job is to get the store hash of the store and replace {store_hash} with the store hash of your BigCommerce store in the URL.
In the header, provide the store’s access token information to allow it to access the shipping zone information.
- X-Auth-Token: Access token.

Then click send button to send the request
And the result for my store is like this:
[
    {
        "id": 1,
        "name": "United States",
        "type": "Country",
        "locations": [
            {
                "id": 1,
                "country_iso2": "US"
            }
        ],
        "free_shipping": {
            "enabled": false,
            "minimum_sub_total": "0.0000",
            "exclude_fixed_shipping_products": false
        },
        "handling_fees": {
            "display_separately": true,
            "fixed_surcharge": "0.0000"
        },
        "enabled": true
    }
]

Code language: JSON / JSON with Comments (json)
We have already retrieved all shipping zones of the BigCommerce store.
II. Create a shipping zone
As your store expands and grows, the number of customers in new areas increases, requiring you to create a new shipping zone to optimize the number of goods shipped to that area quickly and economically. Thereby satisfying your customers.
Now let us create a new shipping zone with me.
Now select POST and keep the URL: https://api.bigcommerce.com/stores/{store_hash}/v2/shipping/zones
Replace {store_hash} with the store hash of your BigCommerce store.
In the header section
We need to fill in the information, including:
- Accept: application/json
- Content-Type: application/json
- X-Auth-Token: {access_token}
In the Body section
To create a new shipping zone, you need to enter declaration statements:
- Name (required) Zone name. Required for PUT requests.
- Type (required) Allowed values: zip, country, state, global.
- Locations: Array of zone locations: Array of zone locations:
+ Id: Location’s ID.
+ Zip: Location’s ZIP/postal code.
+ Country_iso2: 2-letter ISO Alpha-2 code for the country. Example: US
+ State_iso2: ISO Alpha-2 code for the state. Example: TX
- Free_shipping:
+ Enabled
+ Minimum_sub_total
+ Exclude_fixed_shipping_products
- Handling_fees:
+ Fixed_additional charge
+ Display_separately
- Enabled
For details, you can refer to BigCommerce Dev Center
Here is an example:
{
     "name": "United States",
  "type": "zip",
  "locations": [
    {
      "zip": "12345",
      "country_iso2": "US",
      "state_iso2": "TX"
    }
  ],
  "free_shipping": {
    "enabled": true,
    "minimum_sub_total": "0.0000",
    "exclude_fixed_shipping_products": true
  },
  "handling_fees": {
    "fixed_surcharge": "0",
    "display_separately": true
  },
  "enabled": true
}

Code language: JSON / JSON with Comments (json)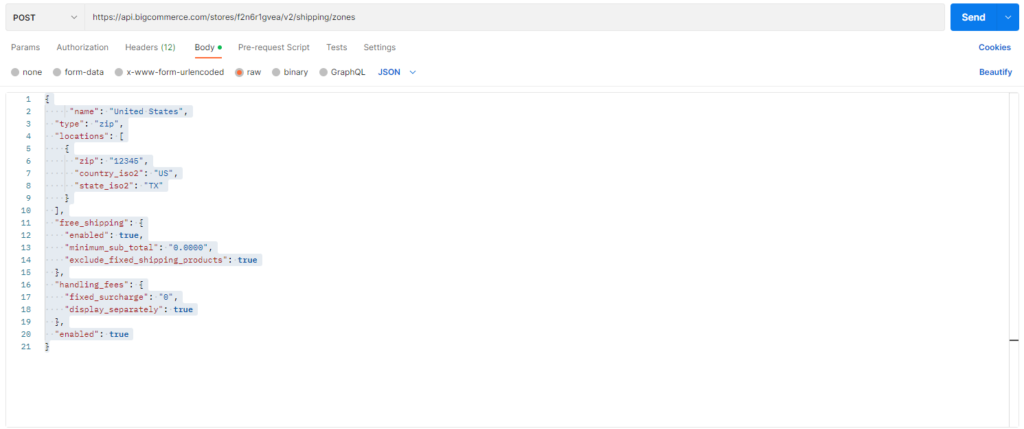
Click send to send the request. You will see the result in the box below:
{
    "id": 2,
    "name": "United States",
    "type": "zip",
    "locations": [
        {
            "id": 2,
            "country_iso2": "US",
            "zip": "12345"
        }
    ],
    "free_shipping": {
        "enabled": true,
        "minimum_sub_total": "0.0000",
        "exclude_fixed_shipping_products": true
    },
    "handling_fees": {
        "display_separately": true,
        "fixed_surcharge": "0.0000"
    },
    "enabled": true
}

Code language: JSON / JSON with Comments (json)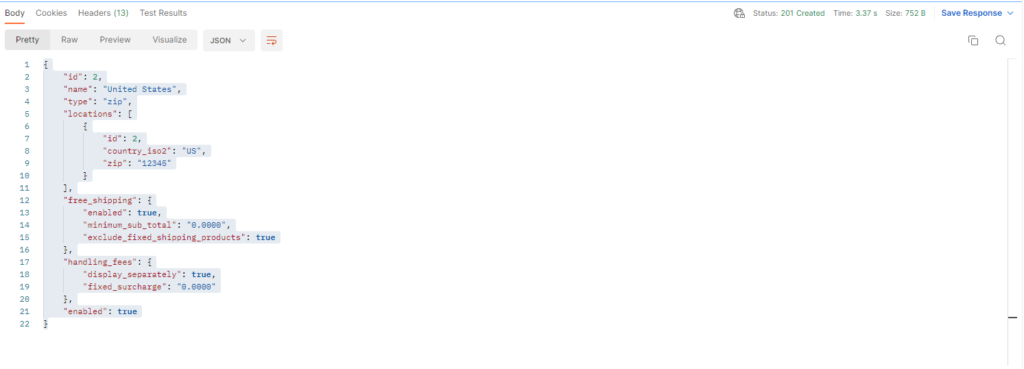
We have successfully created a new shipping zone with ID 2
III. Delete a shipping zone
Having too many shipping zones also makes it difficult to manage, so deleting the shipping zone is also essential.
To delete a shipping zone, you need to change the request command to DELETE and add the URL with the following structure:
https://api.bigcommerce.com/stores/{store_hash}/v2/shipping/zones/{id}
Replace {store_hash} with the store hash of your BigCommerce store.
Besides, to delete any shipping zone, you need to declare its ID at the end of the above URL
In the Header section, you need to fill in the information:
- X-Auth-Token: Access token

Skip the Body part, then click send button to send the request
The API will delete all the data; all you can see is an empty box
In conclusion
The above are all steps to retrieve, create and delete a Shipping Zone using BigCommerce API.
Please comment below or refer to our BigCommerce API documentation if you have any questions.
Finally, I hope you can achieve it!
In the video below, you will see these steps visually:
